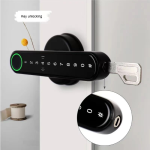
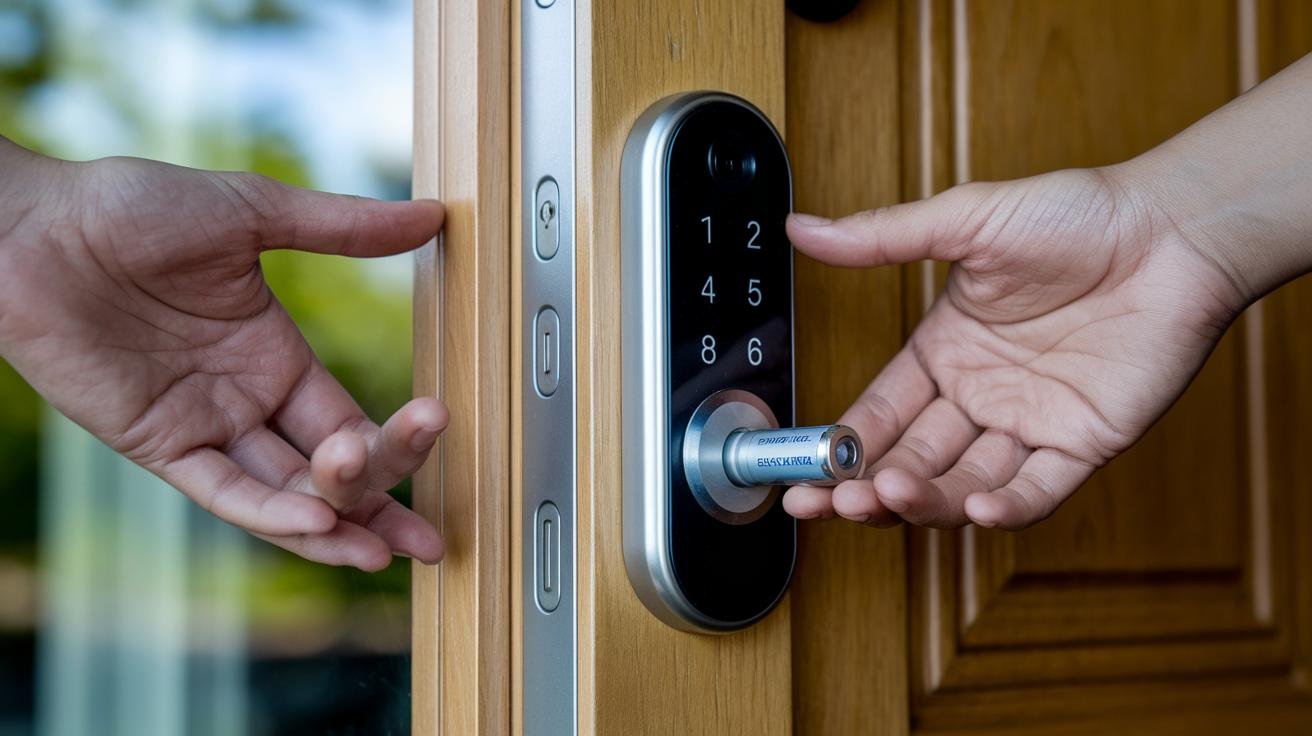
Ever fumble with keys in the dark? You know that moment when your phone’s flashlight dies and the lock won’t budge? Let’s ditch the jingling metal and make entry so simple you’ll barely notice. With a smart door lock, you tap your phone or just swipe your finger.
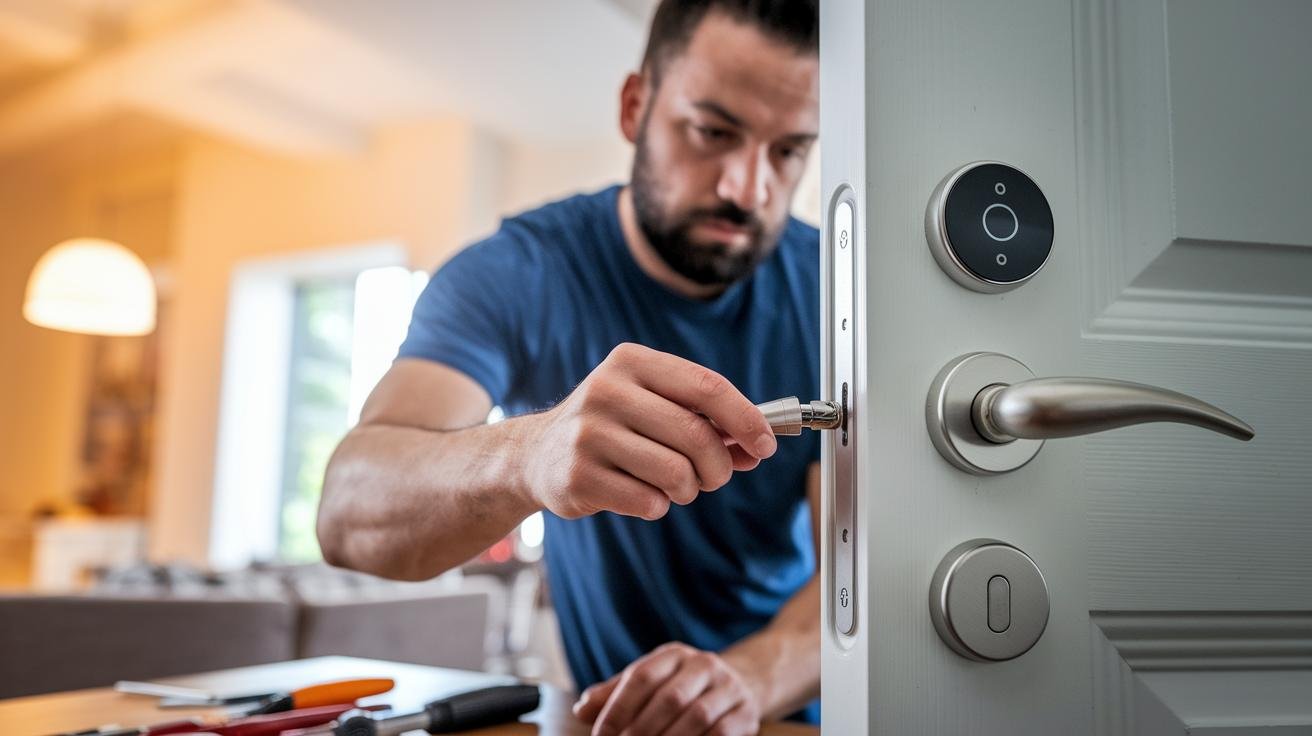
First, pop out your old deadbolt. It’s like swapping a light bulb – just loosen two screws and pull. Then slide in your sleek new smart lock. You’ll hear a solid click as it settles.
Next, pair it with your phone via Bluetooth (wireless pairing tech). Think of it like linking to speakers. Or choose fingerprint access (touch-based scan) and just rest your thumb on the pad.
No expensive pros, no surprise costs. You’ll lock in savings and learn every nook of your new system! Plus, you can set up guest codes for friends and check real-time entry logs so you always know who’s coming and going.
2 How to Install a Smart Door Lock

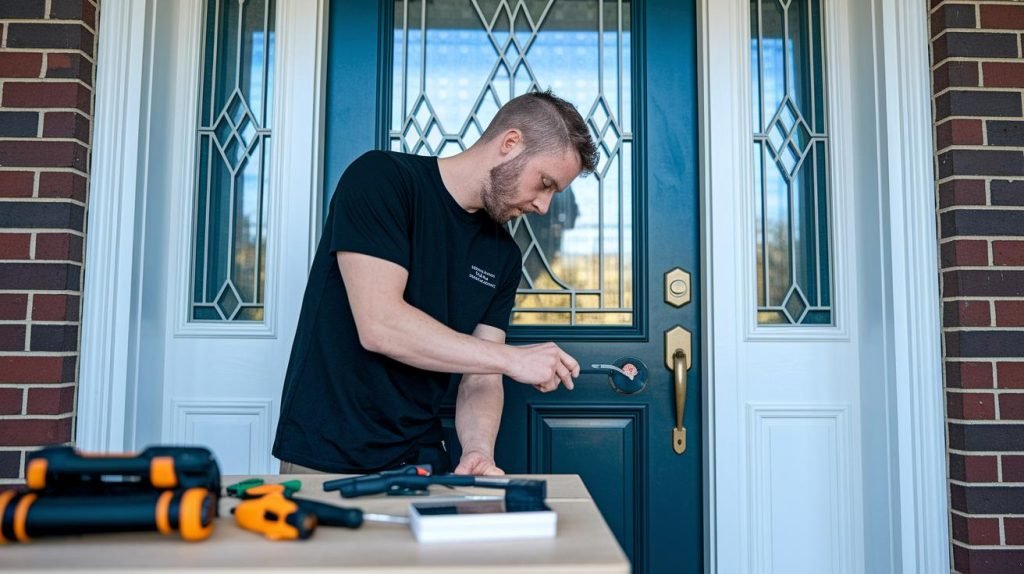
Ever fumbled with your keys in the dark? In this guide, we're going to help you install a smart door lock step by step. You’ll enjoy keyless entry, opening the door from your phone, guest passcodes, event logs, and smooth smart-home integration. Most units cost $100 to $450, based on extras like Bluetooth (wireless pairing tech) or biometric access (fingerprint reader).
And you might wrap this up in just 15 minutes, or spend a full day if your door needs a little extra tweaking. Doing it yourself skips the pro fees and gives you a chance to really learn your lock. On the flip side, you could end up with a misaligned latch or a compatibility snag that takes extra fiddling. But that’s ok – um you’ll know your way around it by the time you’re done.
Here are the five main steps:
-
Remove the old deadbolt
Use a #1 Phillips screwdriver (crosshead tip) to pull out the two screws inside. Then slide both halves of the lock off. You’ll feel it pop free. -
Prep the door
Wipe away wood chips or paint flakes around the hole. Check the backset (distance from door edge to hole center) and door thickness to match your new lock. Got it? -
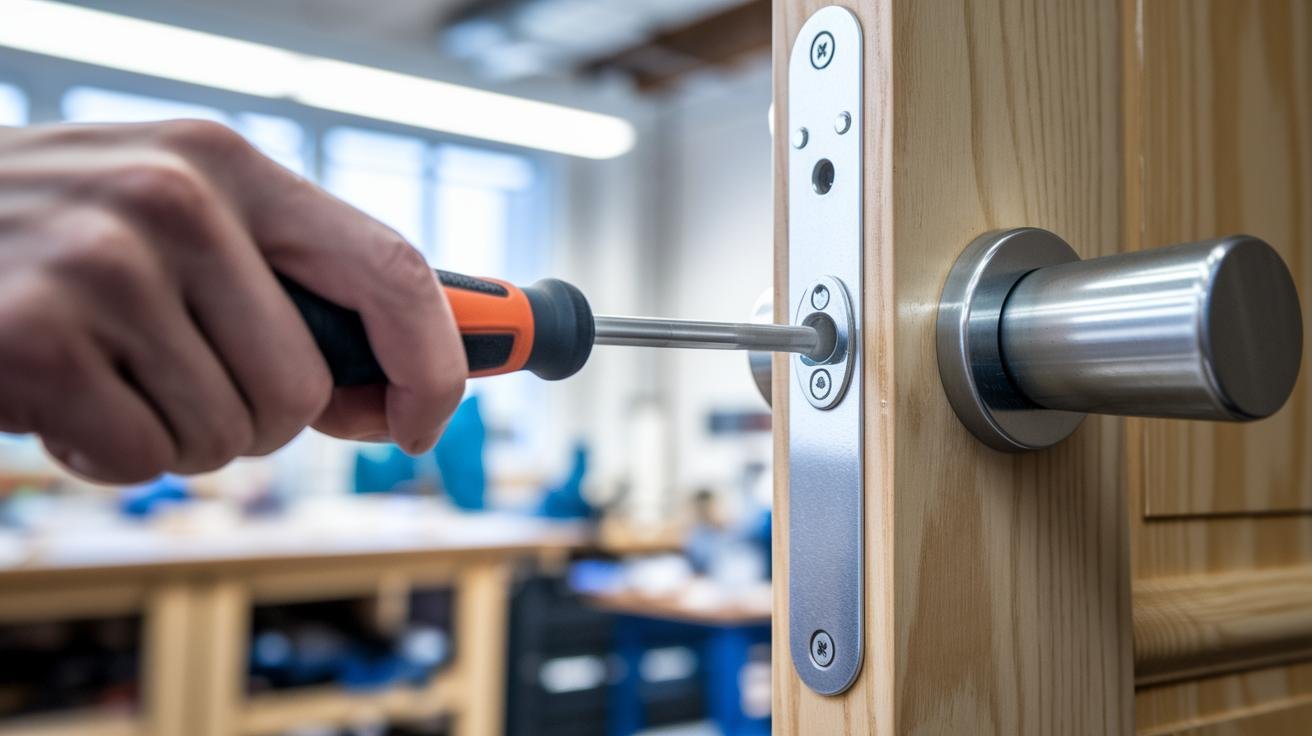
Install the mounting plate
Feed the data cable (for lock signals) under the plate. Line up the screw holes, make sure it’s level, then finger-tighten the screws so it sits flush. -
Mount the new deadbolt
Slide the bolt in with the “TOP” label facing up. Secure it using the long screws. Turn the latch, you should feel it slide smoothly. -
Attach inside and outside parts
Push the cable through the outside housing and snap on the interior half. Pop in the batteries, then tighten all the screws. Nice work.
Now that your lock is in, you’ll feel more secure and in control! You can lock or unlock from your phone – no more dashing back for forgotten keys. Set guest codes for friends or pet sitters and track every entry in the log.
And if the batteries ever die, just use your key in the backup slot so you’re never stuck outside.
Smart Door Lock Model Selection and Compatibility

Picking the right lock is about type, price and door fit. You’ll see five main styles: keypad (buttons for codes), RFID (tap keycards), Bluetooth (phone pairing), Wi-Fi (internet control) and biometric (fingerprint or face scan). Prices run from around $100 for a simple code lock up to $450 for a top-tier biometric model.
Before you buy, measure your door thickness. It should be between 1 3/8 inches and 2 inches. Then check the borehole (the hole in your door) – standard is about 2 1/8 inches wide.
Next, note the back-set (distance from the door edge to the hole center). You’ll find either 2 3/8 inches or 2 3/4 inches. Then choose single-cylinder (thumb turn inside) or double-cylinder (key on both sides). And don’t forget to see if it talks to Zigbee (wireless home network tech), Z-Wave (same idea), Matter, Wi-Fi or Bluetooth.
| Lock Type | Price Range | What It Fits |
|---|---|---|
| Keypad | $100 – $250 | Most single-cylinder deadbolts |
| RFID | $100 – $300 | Standard boreholes, card or tag access |
| Bluetooth | $100 – $200 | Pairs locally with your phone, no hub needed |
| Wi-Fi | $100 – $300 | Remote control over the internet, may need a bridge |
| Biometric | $250 – $450 | Fingerprint or face scan, needs extra battery space |
Once you’ve matched features, price and door specs, you’ll pick a model that fits securely and plays nice with your smart home. Think about whether you need an extra hub or if it works right out of the box. And check if it can chat with Alexa or Google Assistant for an easy setup. Access granted.
Required Tools and Materials for Smart Door Lock Installation

Before you start, lay out all your tools so you don't pause halfway through. Ever tried searching for a screwdriver while your drill's running? Not fun! Flip through the manual too – it's a quick way to spot any strange quirks with your model. That heads-up saves headaches.
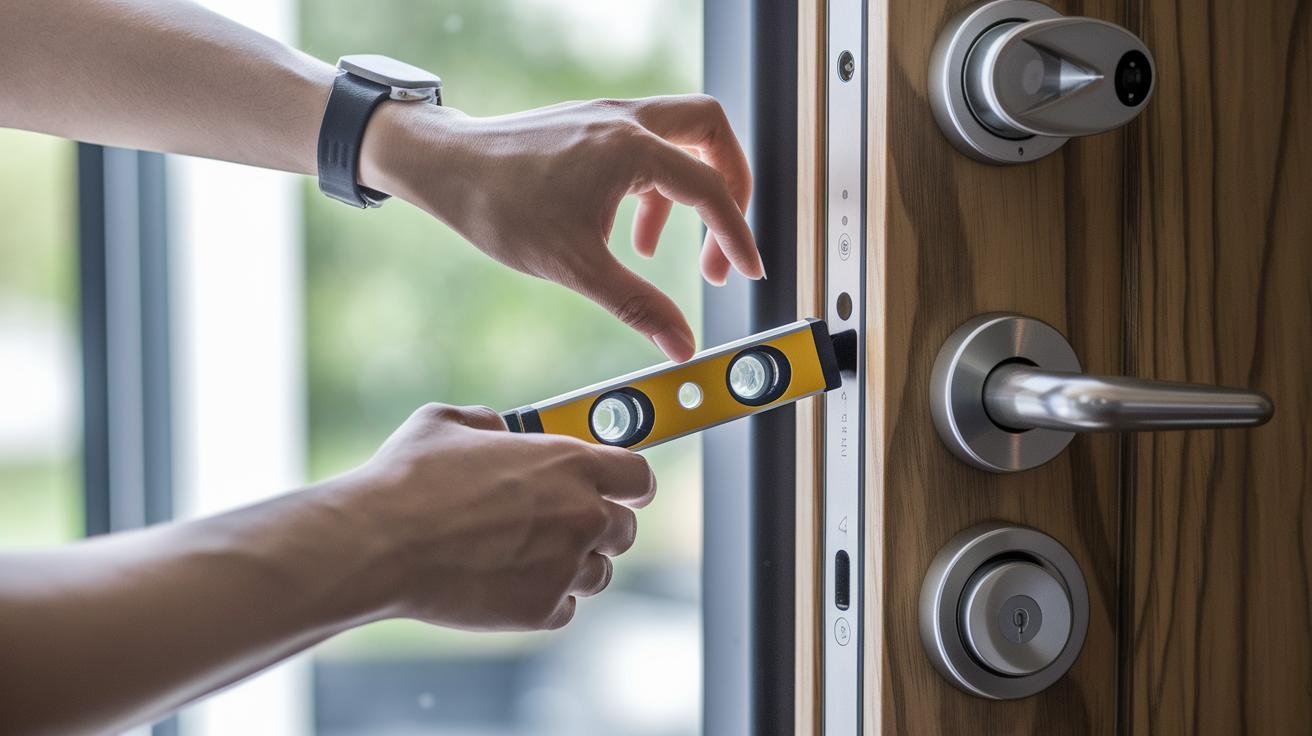
Next, stick the drilling template on the door using tape. Oops, almost forgot: grab a level (you know, the tool with the bubble) and make sure it sits straight. That way, your holes line up and the latch glides in like butter. Got it?
- Philips PH1 screwdriver – remove old screws and tighten the new lock housing
- Power drill with 3/8" bit (drill pilot holes or adjust the hole for the plate)
- Measuring tape – check door thickness, backset, and where the borehole goes
- Level – keep the mounting plate and lock housing perfectly straight
- Pencil – mark the screw spots on the door with the alignment template
- Cleaning cloth – wipe away wood chips, dust, and paint flakes before you mount
- Parts tray – keep all screws and small bits organized so nothing goes missing
- Your smart lock kit – mounting plate, screws, alignment template, data cable, battery pack, and the manual
Having everything ready means you can focus on popping off your old lock and snapping in the new one – no frantic part hunts. Smooth install, happy home.
Removing Existing Hardware in Smart Door Lock Retrofit
Before you dive in, put on safety glasses and clear tools from the floor. Those glasses keep wood chips or stray screws out of your eyes. Ever fumbled with your keys in the dark? This is way safer.
- Remove the lock halves
- Use a PH1 screwdriver to back out the two inside screws. Keep them in a small tray so they don’t roll away.
- Gently pull both the interior and exterior pieces straight off. Got it?
- Remove the deadbolt and strike plate, inspect the borehole
- Slide the deadbolt out, then unscrew the strike plate. Store those old parts in case you need to revert.
- Shine a flashlight into the borehole (the drilled hole) and wipe away any wood chips or paint flakes so the new lock sits flush.
Give the hole one more look. Smooth edges and a clean frame mean your door’s ready for the next step.
Preparing Door Surface for Smart Door Lock Installation

Now that your door is free of old hardware and dust, you’re almost ready to fit your new smart lock. Ever noticed your lock wobbling when you jiggle the handle at night? You’ve cleaned off debris, checked the borehole, and smoothed any rough spots in those earlier steps (Prep the door and Removing Existing Hardware). The goal here is a smooth, even surface so your lock sits flush and works perfectly.
Pro Tip:
- Once you pull out the deadbolt and strike plate, slip on a door reinforcement kit or swap in a heavy-duty metal strike plate.
- This simple add-on gives your door extra strength against forced entry.
Installing Mounting Plate and Attaching Smart Lock Housing
Mounting Plate Installation
Slide the mounting plate over the data cable so the cable sticks out the top. Align the plate’s holes with the marks on your door. Use your level (the tool with the little bubble) to make sure it sits perfectly straight. Finally, put in the two long screws and tighten them by hand until they’re snug, then give each one a quarter turn with your screwdriver so the plate stays solid.
Attaching Exterior and Interior Components
Feed the cable through the door hole and press the outside half of the lock flat against the plate. Slide the latch bar into the deadbolt slot and feel it glide with a soft click. Line up the inside housing’s posts with the plate slots and press until they click into place. Finally, screw in the smaller screws around the housing until everything feels firm (not too tight).
Powering and Connecting Smart Door Lock to Network
Battery Installation
Start with four fresh AA batteries. Slide each one into the tray, matching the plus and minus marks. Make sure you pull out any little plastic tab that might be blocking the contacts. Then snap the tray back in.
You’ll hear a soft click and see a green light blink or hear a beep. That means the lock just woke up. With new batteries, you’re looking at about six to twelve months before you need to swap them out. Ever fumbled with dead batteries on a dark night? Yeah, let’s avoid that.
Network Pairing
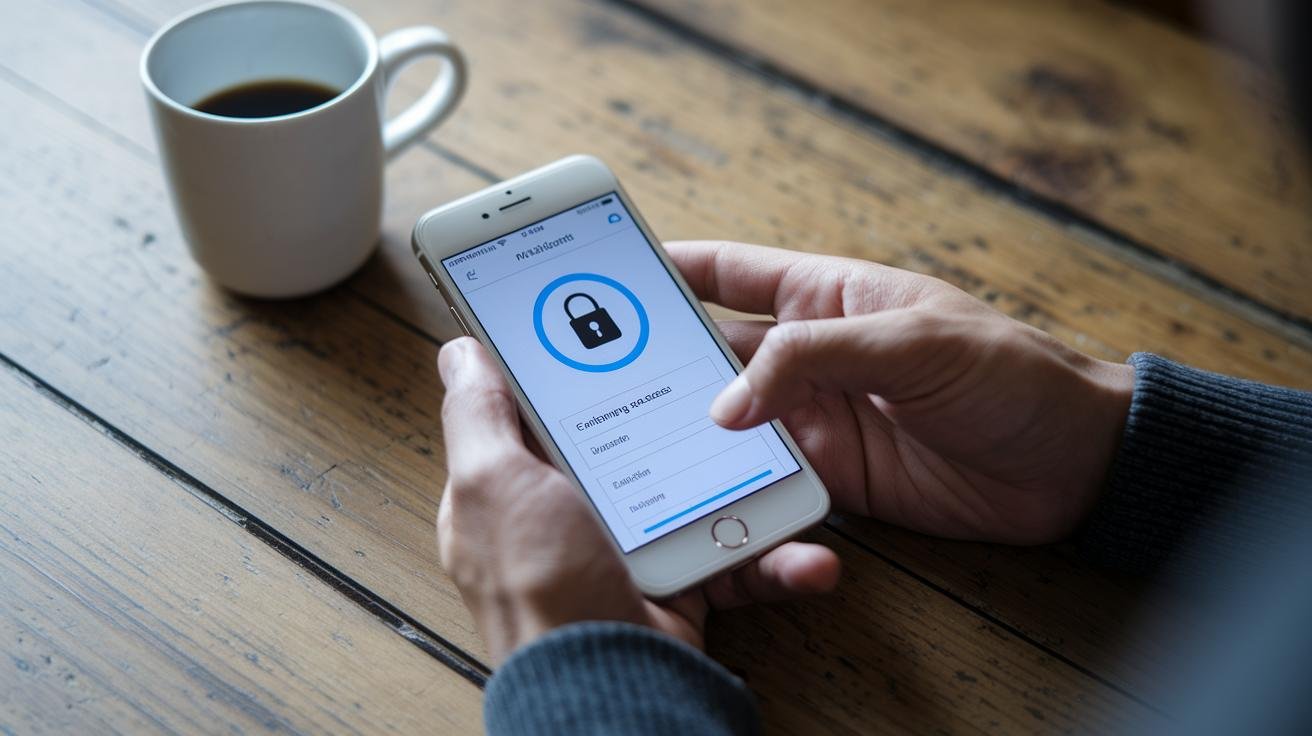
First up, syncing over Bluetooth. Find the sync button on your lock (um, you might need a paperclip). Press it, open the app on your phone, and watch for your lock to pop up, then tap to connect.
Want Wi-Fi control? Tap Add Device in the app. If your lock needs a bridge or hub, plug that into your router first, think of it like a mini Wi-Fi booster. When the lock shows up, type in your network name and password.
Next, head into the app’s security settings. Turn on encryption (AES 128-bit, which basically means strong code) and two-factor authentication. That way, only you can add new users.
Now take a quick walk around your door with your phone to test the signal. If it drops, try moving the hub or adding a small range extender. That keeps your remote access smooth and your home protected.
For a full step-by-step on Wi-Fi setup, check out the wifi smart lock installation guide.
Configuring Mobile App and Access Settings on Smart Door Lock
Ever fumbled with your keys in the dark? Let’s get your smart lock talking to your phone.
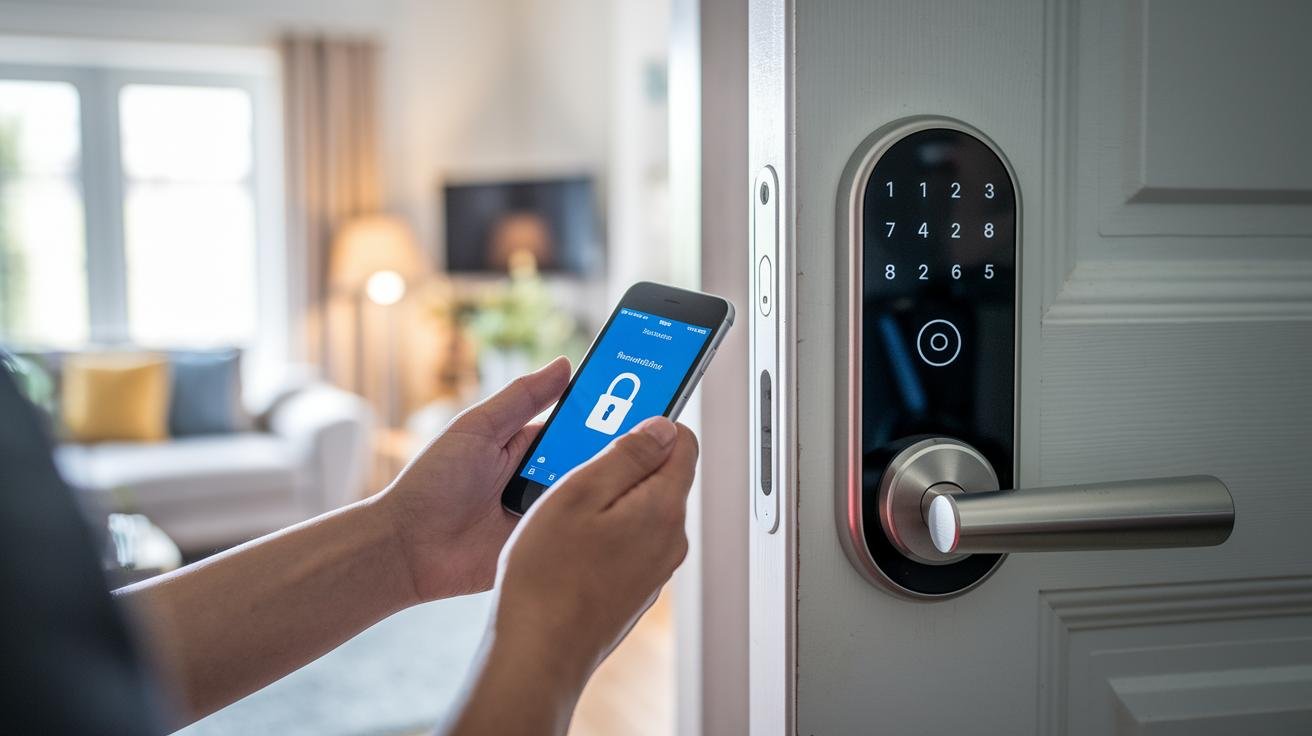
First, grab the app from the App Store (iOS) or Google Play (Android). Tap Add Device and scan for your lock. Name it something clear, Front Door, Back Gate, you get the idea. And don’t forget to allow notifications so your phone pings you when it locks or unlocks.
Next up, PIN codes. Open Code Settings, tap Add PIN, and punch in a 4 to 8 digit code. Label each one (Kids, Housekeeper) so you know who’s coming and going. Easy.
For friends or family staying over, head to Guest Access. Create a code, pick valid dates or times, and you’re all set. If plans shift, just edit or delete codes right in the app.
Um, here’s a little tip: In Lock Settings, set an auto-lock delay – say 5 seconds after you shut the door. That way you’re never left wondering if it’s secure.
And if you’d rather the door pop open for you, enable geofencing (it uses your phone’s location). Your hands are full? No problem, the lock’s got you.
Access granted.
Don’t forget to peek at the event log now and then. You’ll see every entry and can tweak notifications as you go.
Troubleshooting Common Smart Door Lock Installation Issues
Ever been locked out by your own lock? It happens to the best of us. A simple troubleshooting checklist can save time and keep your door from jamming or leaving you out in the cold. Often, a small tweak in the app or at the door edge sorts things out.
Here are some easy fixes to try. Keep them close next time you face a hiccup:
- Motor stalls when locking or unlocking: check your door’s thickness and back-set (the distance from the door edge to the lock’s center). Then open the app and recalibrate the motor.
- Bluetooth or Wi-Fi dropouts: reboot your router, move the hub closer, or swap in fresh batteries to restore the wireless link.
- Latch won’t align with the strike plate: loosen the plate screws, nudge it a bit, then tighten and reset the latch settings in the app.
- Door binding or sticking: inspect hinge screws and hinges for looseness. Then spray a light coat of silicone on the latch.
- Error codes in the app: remove the lock from the app and add it again, and make sure your firmware (lock software) is up to date.
- Weak or dead batteries: replace all the cells at once and pull off any leftover shipping tabs so contacts connect.
If none of these steps clear the issue, reach out to your lock maker’s support or call in a pro installer who specializes in smart locks. You’ll be back inside in no time!
Security Best Practices and Maintenance for Smart Door Lock Longevity
Ever had that nagging feeling your lock’s a step behind? Keeping your lock’s firmware (internal software) updated is step one for blocking sneaky hacks. Just open the app every few weeks and tap update – you’ll see patch notes or tweaks, like updating your phone. It only takes a minute and helps keep unwanted visitors out.
Batteries are your lock’s lifeblood. Most run on four AA cells that last six to twelve months. When the low-battery alert or that soft beep pops up, swap out all four for fresh ones. Slide out the tray, pull the old cells, pop in new ones – listen for that reassuring click.
Your lock’s hardware deserves a little TLC, too. Gently wipe the electronic parts with a dry cloth – avoid sprays or cleaners near the circuit board. Once a year, add a light coat of graphite or silicone spray to the deadbolt so it glides with that smooth click you love. Test auto-lock in the app and peek at your event log (activity history) every month to spot anything odd.
Final Words
We jumped right into benefits and time estimates. Then we stepped through choosing the right lock, gathering your tools, removing old hardware and prepping the door.
Mounting the plate, syncing batteries, pairing in the app and setting codes became simple. We even tackled common hiccups and shared care tips for firmware and batteries.
Ready to try how to install a smart door lock yourself? You’ll get secure keyless entry and peace of mind.
FAQ
Can I install a smart lock myself?
You can install a smart lock yourself by following its manual, using common tools, and setting aside 15 minutes to a few hours depending on door prep and adjustments.
How do I install a smart or keyless entry door lock?
You install a smart or keyless entry lock by removing your old deadbolt, mounting the new plate, fitting lock halves, inserting batteries, and pairing with its mobile app.
How do I install a smart lock without drilling?
You install a smart lock without drilling by choosing a clamp-on retrofit model that fits over existing hardware, then tightening its brackets and completing standard setup steps.
Can I install a digital lock in an existing or security door?
You can install a digital or smart lock in most existing or security doors if they match standard boreholes (2⅛ inches) and thickness (1⅜–2 inches), using compatible retrofit kits.
What’s involved in Tuya smart lock installation?
Tuya smart lock installation involves scanning its QR code in the Tuya app, joining your Wi-Fi or Bluetooth network, registering the device, then assigning access codes and updating its firmware.
Where can I download a smart door lock manual PDF?
You can download a smart door lock manual PDF from the manufacturer’s support page or app, where it’s usually listed under downloads for your lock’s model number.
How much does smart lock installation cost?
Smart lock installation cost ranges from $100–$450 for DIY kits, plus $50–$150 in professional labor if you hire a locksmith, depending on lock type and installation complexity.
How can I find smart door lock installation services near me?
You find smart door lock installation services near you by searching online for local locksmiths or home-tech installers, or by checking major retailers that offer in-house or partner support.
How do I lock a smart lock from the outside?
You lock a smart lock from outside by entering your PIN on its keypad, tapping its mobile app’s lock button, or using an authorized RFID card or key fob.